
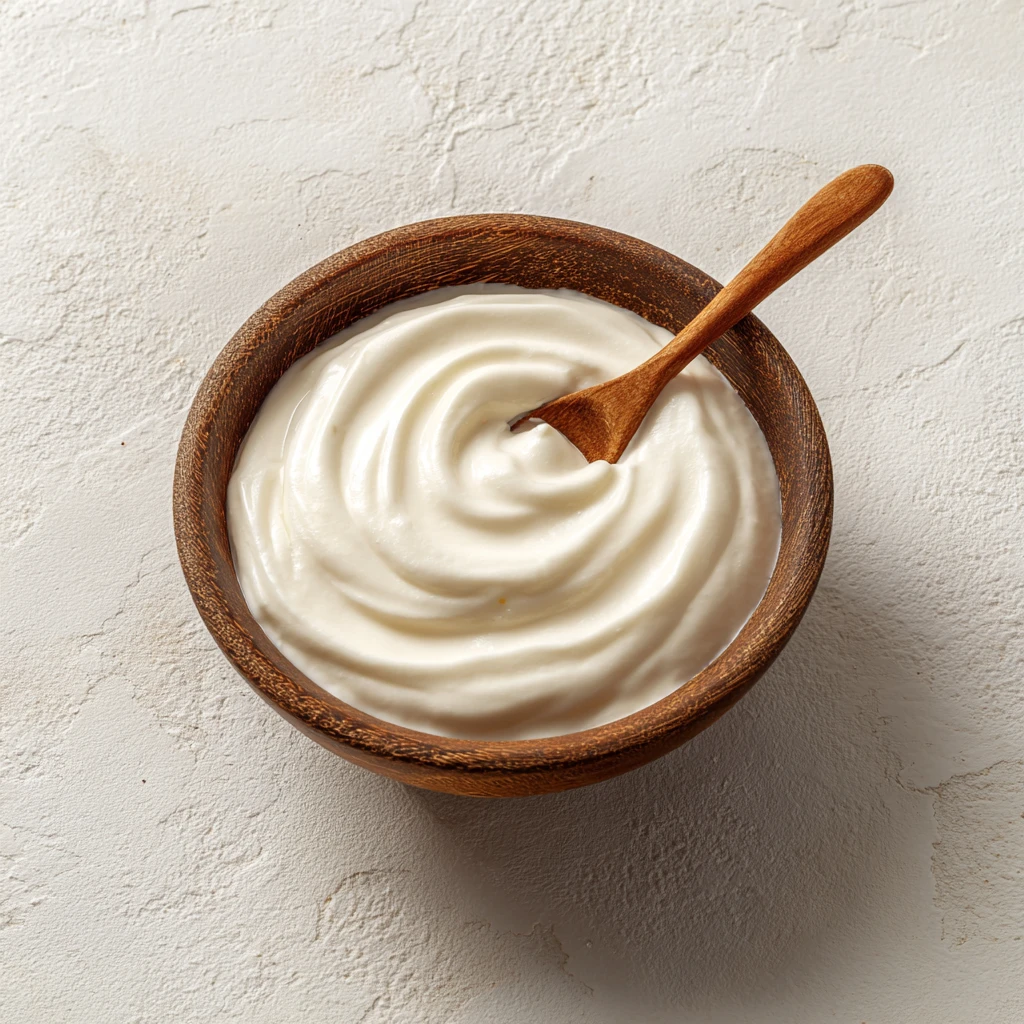
Homemade Yogurt
Introduction
Homemade yogurt is a delightful treat that brings a sense of satisfaction and joy to those who make it from scratch. The process of creating yogurt at home is not only rewarding but also allows you to customize the flavor and texture to your liking. Whether you are a seasoned cook or just starting your culinary journey, making homemade yogurt is a simple yet fulfilling experience that can elevate your cooking skills.
Exploring the art of yogurt-making opens a world of possibilities where you can experiment with different ingredients, techniques, and flavors. In this article, we will delve into the step-by-step process of crafting your own creamy and delicious yogurt right in your kitchen. From selecting the best ingredients to mastering the fermentation process, you will learn all the tips and tricks to create a perfect batch of homemade yogurt every time.
Join us on this culinary adventure as we uncover the secrets of homemade yogurt and discover the joy of creating a wholesome and nutritious snack that your whole family will love. Get ready to embark on a journey that will not only tantalize your taste buds but also empower you to take control of what goes into your food.
So, grab your apron and let’s dive into the wonderful world of homemade yogurt!
Why You’ll Love Homemade Yogurt
Homemade yogurt offers a myriad of benefits that set it apart from store-bought varieties. One of the best features of homemade yogurt is the ability to customize it according to your preferences. You can adjust the level of tanginess, creaminess, and sweetness to create a yogurt that suits your taste perfectly.
Additionally, homemade yogurt is free from any artificial additives or preservatives, making it a healthier alternative to commercially produced options. By making yogurt at home, you have full control over the quality of ingredients used, ensuring a fresh and wholesome final product.
Not only is homemade yogurt delicious and nutritious, but it is also a cost-effective option in the long run. With just a few simple ingredients and basic equipment, you can create a large batch of yogurt at a fraction of the cost of store-bought versions.
Furthermore, the satisfaction that comes from making your own yogurt from scratch is unparalleled. The process itself is meditative and enjoyable, allowing you to connect with the food you eat on a deeper level. Once you taste your first spoonful of homemade yogurt, you’ll understand why it’s worth the effort.
Ingredients
Before you embark on your homemade yogurt-making journey, gather the following ingredients:
– Fresh milk (whole milk for a creamier texture)
– Yogurt starter culture or plain yogurt with live active cultures
– Optional: Sweetener (such as honey or sugar) for flavor
– Optional: Flavorings (such as vanilla extract or fruit puree)
For those with dietary restrictions or preferences, you can use alternative milk options like almond milk or coconut milk to create dairy-free yogurt. Experiment with different types of milk to find the flavor and consistency that you enjoy the most.
It’s important to use high-quality ingredients to achieve the best results in your homemade yogurt. Look for organic or locally sourced milk and yogurt cultures to ensure a rich and flavorful end product.
Now that you have your ingredients ready, let’s move on to the step-by-step instructions for making homemade yogurt.
Step-by-Step Instructions
1. Heat the milk: Pour the fresh milk into a saucepan and heat it over medium heat until it reaches around 180°F (82°C). Stir the milk occasionally to prevent scorching.
2. Cool the milk: Remove the saucepan from the heat and let the milk cool to around 110°F (43°C). This temperature is ideal for adding the yogurt culture without killing the beneficial bacteria.
3. Add the yogurt culture: In a small bowl, mix a small amount of the warm milk with the yogurt starter culture or plain yogurt. Stir well to combine and then pour this mixture back into the remaining warm milk. Stir gently to distribute the culture evenly.
4. Incubate the yogurt: Transfer the milk mixture into a clean container or yogurt maker and cover it with a lid. Keep the container in a warm place, ideally around 110°F (43°C), for 6-8 hours to allow the yogurt to ferment and set.
5. Check the consistency: After the incubation period, check the yogurt for a thick and creamy consistency. If the yogurt is too thin, you can strain it through a cheesecloth to remove excess whey and thicken it further.
6. Chill and enjoy: Once the yogurt reaches your desired consistency, refrigerate it for a few hours to chill. Your homemade yogurt is now ready to be enjoyed plain or with your favorite toppings and mix-ins.
By following these simple steps, you can create a batch of homemade yogurt that is fresh, creamy, and packed with probiotics and nutrients. Experiment with different milk types, fermentation times, and flavorings to customize your yogurt to suit your taste preferences.
Expert Tips for Success
– Use a thermometer to monitor the milk temperature accurately during heating and cooling stages.
– Maintain a consistent incubation temperature to ensure proper fermentation and a creamy texture.
– For a thicker yogurt, strain the yogurt through a cheesecloth for a few hours or overnight in the refrigerator.
– Avoid using metal utensils when handling the yogurt culture, as metal can interfere with the fermentation process.
By incorporating these expert tips into your homemade yogurt-making process, you can achieve consistent and delicious results every time. Now, let’s explore some variations and substitutions to add a creative twist to your homemade yogurt.
Variations and Substitutions
There are endless possibilities for customizing your homemade yogurt to suit your taste preferences and dietary needs. Here are some creative variations and substitutions you can try:
– Dairy-Free Yogurt: Use almond milk, coconut milk, or soy milk as a base for a dairy-free alternative.
– Greek Yogurt: Strain the yogurt for a longer period to create a thick and creamy Greek-style yogurt.
– Fruit Yogurt: Mix in fresh fruit puree or chopped fruits to add a burst of flavor and natural sweetness.
– Savory Yogurt: Experiment with savory toppings like herbs, spices, and olive oil for a unique flavor profile.
Feel free to get creative in the kitchen and explore different flavor combinations and textures to make your homemade yogurt truly one-of-a-kind. Now, let’s move on to serving suggestions to elevate your yogurt-eating experience.
Serving Suggestions
Homemade yogurt can be enjoyed in a variety of ways, making it a versatile ingredient in both sweet and savory dishes. Here are some serving suggestions to inspire your culinary creations:
– Breakfast Parfait: Layer homemade yogurt with granola, fresh berries, and a drizzle of honey for a nutritious and delicious breakfast treat.
– Smoothie Base: Use homemade yogurt as a base for creamy and satisfying smoothies by blending it with fruits, vegetables, and your favorite protein sources.
– Tzatziki Dip: Combine yogurt with cucumber, garlic, and herbs to create a tangy and refreshing dip perfect for pairing with grilled meats or pita bread.
– Frozen Yogurt: Churn homemade yogurt in an ice cream maker with sweeteners and mix-ins for a homemade frozen yogurt dessert.
Experiment with different serving styles and flavor combinations to discover new ways to enjoy your homemade yogurt. Whether you prefer it as a snack, dessert, or part of a savory dish, homemade yogurt adds a creamy and nutritious element to any meal.
FAQs
Q: Can I use store-bought yogurt as a starter for homemade yogurt?
A: Yes, plain yogurt with live active cultures from the store can be used as a starter for making homemade yogurt.
Q: How long will homemade yogurt last in the refrigerator?
A: Homemade yogurt can typically be stored in the refrigerator for up to 2 weeks. Stir well before serving if any separation occurs.
Q: Can I sweeten my yogurt after it has finished fermenting?
A: Yes, you can add sweeteners like honey, sugar, or maple syrup to your yogurt after the fermentation process is complete. Mix well to combine the sweetener evenly.
Q: My yogurt turned out too sour. How can I reduce the tanginess?
A: To reduce the tanginess of your yogurt, you can mix in a small amount of sweetener or blend in ripe fruits for natural sweetness.
By addressing these common questions, you can troubleshoot any issues that may arise during the yogurt-making process and ensure a smooth and successful outcome. Now, let’s wrap up our exploration of homemade yogurt with some final thoughts.
Final Thoughts
Congratulations on completing your journey into the world of homemade yogurt! By mastering the art of yogurt-making, you have unlocked a versatile and delicious culinary skill that will enrich your cooking adventures. Whether you enjoy your yogurt plain, with toppings, or as an ingredient in recipes, homemade yogurt offers a wholesome and satisfying addition to your diet.
Remember to share your homemade yogurt creations with friends and family to spread the joy of homemade goodness. Embrace the creativity and endless possibilities that come with making yogurt at home, and don’t be afraid to experiment with new flavors and techniques along the way.
Thank you for joining us on this flavorful and enriching journey. May your homemade yogurt always be creamy, delicious, and made with love!
Homemade Yogurt
Learn how to make creamy and delicious homemade yogurt from scratch with this step-by-step guide. Discover the benefits of crafting your own yogurt and enjoy the versatility of customizing flavors and textures to suit your preferences.
Ingredients
- 4 cups fresh milk (whole milk for a creamier texture)
- 2 tbsp yogurt starter culture or plain yogurt with live active cultures
- Optional: Sweetener (such as honey or sugar) for flavor
- Optional: Flavorings (such as vanilla extract or fruit puree)
Directions
- Heat the fresh milk in a saucepan over medium heat until it reaches 180°F (82°C), stirring occasionally.
- Remove the milk from heat and cool it to around 110°F (43°C).
- Mix a small amount of warm milk with the yogurt starter culture or plain yogurt in a bowl. Combine well and pour it back into the warm milk.
- Transfer the milk mixture to a clean container, cover it, and keep it in a warm place at around 110°F (43°C) for 6-8 hours to ferment.
- Check the consistency of the yogurt. Strain through a cheesecloth if too thin.
- Refrigerate the yogurt to chill before serving plain or with desired toppings.