Pull-Apart Pizza Sliders
Introduction
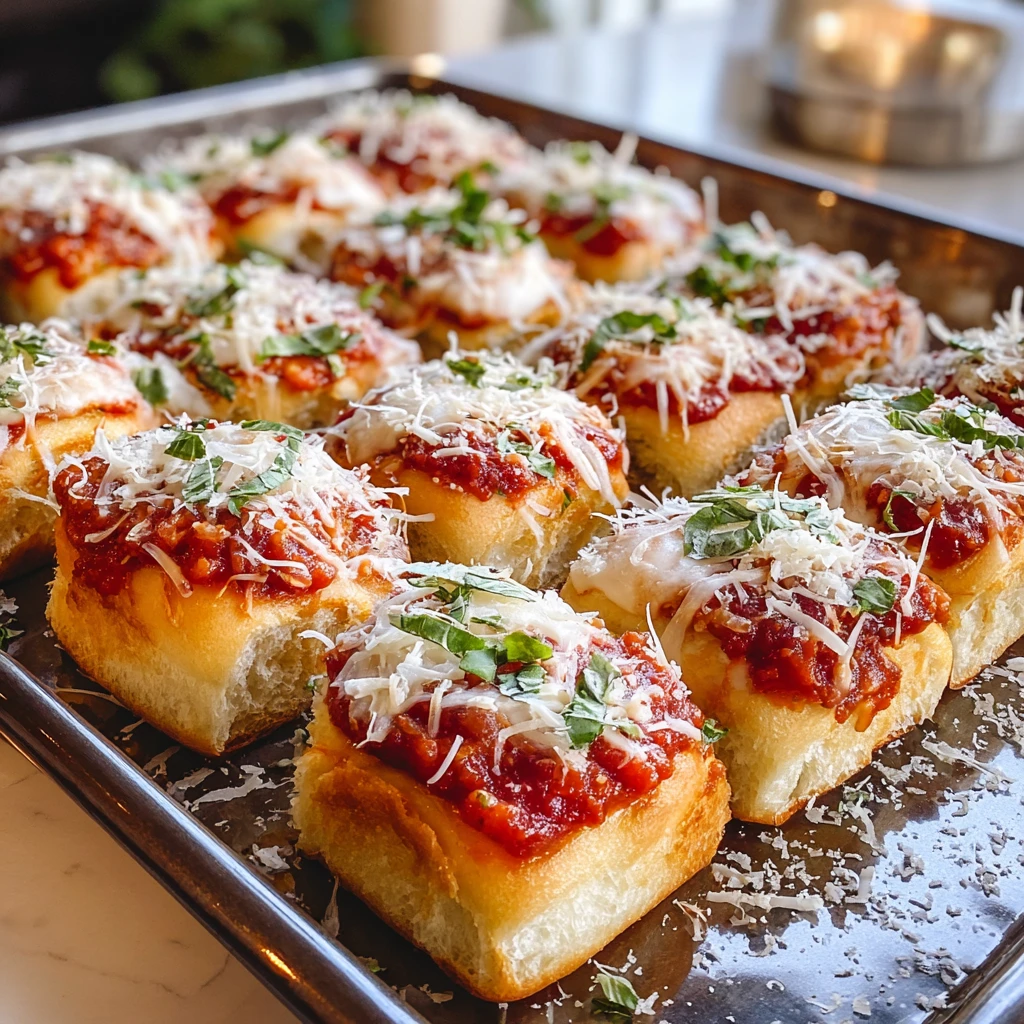
Imagine the aroma of freshly baked pizza wafting through your kitchen, teasing your taste buds with its delicious allure. Now, picture a unique twist on this classic favorite – Pull-Apart Pizza Sliders. A mouthwatering combination of gooey cheese, savory sauce, and flavorful toppings sandwiched between soft, pillowy buns, these sliders are a delightful treat for any occasion.
What makes these Pull-Apart Pizza Sliders truly special is their interactive and shareable nature. Perfect for gatherings, parties, or even a cozy night in, these sliders not only taste amazing but also bring people together as they eagerly pull apart each cheesy, saucy morsel.
While pizza itself holds a special place in many hearts worldwide, the Pull-Apart Pizza Sliders add a fun and creative twist to the traditional pizza experience. It’s a versatile dish that allows for customization, making it suitable for various taste preferences and dietary needs.
Get ready to embark on a culinary adventure as we dive into the world of Pull-Apart Pizza Sliders, exploring the layers of flavors and textures that make this recipe a true crowd-pleaser.
Why You’ll Love This Recipe
These Pull-Apart Pizza Sliders offer the perfect combination of convenience and delectable taste. With their bite-sized portions, they are easy to serve and enjoy, making them ideal for parties or family gatherings.
One of the best features of this recipe is its versatility. You can customize the toppings to suit your preferences, whether you’re a meat lover, a veggie enthusiast, or a fan of bold flavors.
Additionally, these sliders are a great way to involve kids in the kitchen. They will have a blast assembling their sliders and getting creative with their favorite toppings, making mealtime a fun and interactive experience.
Whether you’re looking for a quick and easy snack, a crowd-pleasing appetizer, or a unique twist on pizza night, these Pull-Apart Pizza Sliders are sure to impress with their irresistible combination of flavors and textures.
Ingredients
For the sliders:
– Slider buns
– Pizza sauce
– Mozzarella cheese, shredded
– Pepperoni slices
– Optional: vegetables (bell peppers, onions, mushrooms)
Feel free to customize the ingredients based on your preferences. You can also experiment with different types of cheese, meats, or veggies to create your perfect slider combination.
Step-by-Step Instructions
1. Preheat the oven to 350°F (175°C).
2. Slice the slider buns in half horizontally and place the bottom halves in a baking dish.
3. Spread pizza sauce evenly over the bottom halves of the buns.
4. Layer mozzarella cheese over the sauce, followed by pepperoni slices and any other toppings of your choice.
5. Place the top halves of the buns over the toppings.
6. Cover the baking dish with foil and bake for 10-15 minutes, or until the cheese is melted and bubbly.
7. Remove from the oven, uncover, and let cool slightly before serving.
Expert Tips for Success
– Use fresh, high-quality ingredients for the best flavor.
– Don’t overload the sliders with toppings to ensure they cook evenly.
– For a crispy top, brush the bun tops with melted butter before baking.
– Feel free to experiment with different seasonings to enhance the flavor profile of the sliders.
Variations and Substitutions
If you’re looking to switch things up, here are some creative variations to try:
– BBQ Chicken Sliders: Substitute BBQ sauce for pizza sauce and add shredded chicken.
– Veggie Lovers Sliders: Load up on your favorite veggies like spinach, tomatoes, and olives.
– Hawaiian Sliders: Add ham and pineapple for a sweet and savory twist.
Serving Suggestions
These Pull-Apart Pizza Sliders are best served hot and fresh from the oven. Pair them with a side salad or some crispy garlic bread for a complete meal. For drinks, consider serving with a chilled soda, a refreshing iced tea, or a glass of your favorite wine.
FAQs
Q: Can I make these sliders ahead of time?
A: You can assemble the sliders ahead of time and refrigerate them until you’re ready to bake. Just be sure to adjust the baking time accordingly.
Q: Can I freeze the sliders?
A: Yes, you can freeze the assembled sliders before baking. When ready to enjoy, simply bake from frozen, adding a few extra minutes to the baking time.
Q: How long will leftovers last?
A: Leftover sliders can be stored in an airtight container in the refrigerator for up to 3 days. Reheat in the oven or microwave before serving.
Final Thoughts
As you savor each cheesy, flavorful bite of these Pull-Apart Pizza Sliders, you’ll appreciate the simplicity and deliciousness of this recipe. Whether you’re hosting a party, gathering with friends, or simply craving a fun twist on pizza night, these sliders are sure to become a favorite go-to dish in your repertoire.
Get creative, have fun with the toppings, and make these sliders your own. Share this recipe with loved ones and create lasting memories around the joy of good food and great company. Pull apart, indulge, and enjoy the scrumptious goodness of Pull-Apart Pizza Sliders!
Pull-Apart Pizza Sliders
A unique twist on classic pizza, these Pull-Apart Pizza Sliders are a mouthwatering combination of gooey cheese, savory sauce, and flavorful toppings sandwiched between soft, pillowy buns. Perfect for gatherings, parties, or a cozy night in, these sliders are interactive and shareable, bringing people together as they pull apart each cheesy, saucy morsel.
Ingredients
- 12 slider buns
- 1 cup pizza sauce
- 2 cups mozzarella cheese, shredded
- 24 pepperoni slices
- Optional: vegetables (bell peppers, onions, mushrooms)
Directions
- Preheat the oven to 350°F (175°C).
- Slice the slider buns in half horizontally and place the bottom halves in a baking dish.
- Spread pizza sauce evenly over the bottom halves of the buns.
- Layer mozzarella cheese over the sauce, followed by pepperoni slices and any other toppings of your choice.
- Place the top halves of the buns over the toppings.
- Cover the baking dish with foil and bake for 10-15 minutes, or until the cheese is melted and bubbly.
- Remove from the oven, uncover, and let cool slightly before serving.