

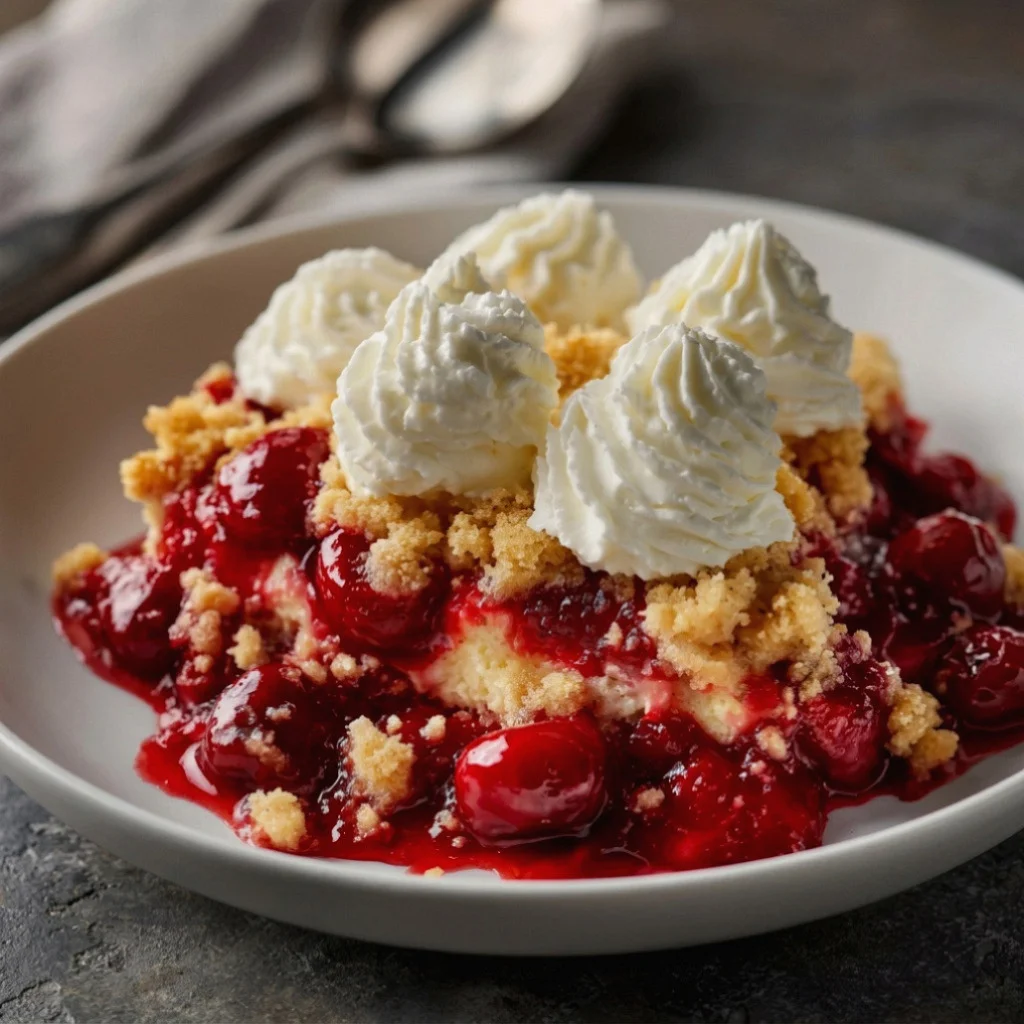
Cherry Cheesecake Dump Cake with Crumble Topping
Cherry Cheesecake Dump Cake with Crumble Topping
If you’re looking for a delicious and simple dessert that combines the creamy goodness of cheesecake with the bright flavors of cherries, you’ve found the perfect recipe! This Cherry Cheesecake Dump Cake is a delightful one-pan dessert that is not only easy to make but also a crowd-pleaser at potlucks and summer gatherings. With its rich, creamy filling and sweet cherry topping, it’s bound to become a favorite in your collection of cherry dessert recipes. The interplay of textures—from the creamy cheesecake to the crunchy crumble topping—creates a memorable eating experience that keeps everyone coming back for seconds. Each bite delivers a burst of flavor, making it an ideal treat for any occasion, be it a family dinner or a festive celebration.
Ingredients
- For the Dump Cake Layer:
- 1 box (15.25 oz) yellow cake mix
- 1/2 cup unsalted butter (1 stick), melted
- 1 can (21 oz) cherry pie filling
- For the Cheesecake Layer:
- 1 package (8 oz) cream cheese, softened
- 1/2 cup granulated sugar
- 1 teaspoon vanilla extract
- 1 large egg
- For the Crumble Topping:
- 1 cup rolled oats
- 1/2 cup brown sugar
- 1/2 cup all-purpose flour
- 1/4 cup unsalted butter, melted
- 1/2 teaspoon cinnamon
Notes: For best results, use high-quality cream cheese and fresh cherries if you prefer a more natural flavor. Look for cream cheese that is full-fat for a richer taste. You can substitute the yellow cake mix with a gluten-free blend to make this dessert suitable for gluten-sensitive individuals. If you are in a hurry, pre-packaged cherry pie filling works great, but don’t hesitate to make your own for an elevated flavor profile. Fresh cherries can be a delicious alternative; they can be pitted and mashed slightly for a homemade cherry filling that offers a burst of juicy flavor. Always ensure that your ingredients are at room temperature for smoother mixing.
Steps / Instructions
- Preheat the Oven: Preheat your oven to 350°F (175°C). Grease a 9×13-inch baking dish with cooking spray or butter to prevent sticking. This step is crucial to ensure easy removal of your Cherry Cheesecake Dump Cake once it’s baked. A well-greased pan will help the dessert lift out seamlessly, maintaining the integrity of its layers.
- Prepare the Cheesecake Layer: In a mixing bowl, beat the softened cream cheese with a hand mixer until smooth. Gradually add the granulated sugar, mixing well until fully combined and no lumps remain. Then add the vanilla extract and egg, beating until the mixture is completely smooth and creamy. Set aside. This layer should be thick and luscious, creating a beautiful contrast to the cherry filling. You can also try mixing in a bit of sour cream for added tanginess, enhancing the cheesecake flavor.
- Spread the Cherry Filling: Evenly spread the cherry pie filling across the bottom of the prepared baking dish, ensuring the bottom is completely covered. Use a spatula to help distribute it evenly, as this layer provides the sweet foundation for the cheesecake. If you’re using fresh cherries, slice them thinly and distribute them evenly in the pan for a more homemade feel.
- Add the Cheesecake Mixture: Pour the cheesecake mixture over the cherry filling, spreading it gently to cover as much of the cherries as possible. It’s important to create an even layer to ensure every bite has that delicious cheesecake flavor. This step is crucial for achieving a harmonious blend of flavors as it bakes.
- Prepare the Cake Layer: In a separate bowl, combine the yellow cake mix with the melted butter. Stir until the cake mix is moist and crumbly. The texture should resemble coarse crumbs; this will help create that delightful topping. Make sure there are no dry spots in the mix, as this will prevent uneven baking.
- Top with Cake Mix: Sprinkle the cake mix evenly over the cheesecake layer, letting it clump slightly for texture. Aim to cover it thoroughly, but don’t worry if some cheesecake peeks through—this will create a lovely variation in texture. This unevenness not only adds visual interest but also ensures a delightful experience as you dig into the cake.
- Make the Crumble Topping: In another bowl, combine the rolled oats, brown sugar, flour, melted butter, and cinnamon. Mix until crumbly, then sprinkle this mixture over the cake layer. The oats add a wonderful chewiness that complements the creaminess of the cheesecake. You can also add chopped nuts to the crumble for a delightful crunch.
- Bake: Place the baking dish in the preheated oven and bake for 45-50 minutes, or until the topping is golden brown and the cheesecake is set. The edges may bubble slightly, which is normal. You can check if it’s done by gently shaking the dish; the center should be slightly jiggly but not liquid. This visual cue is essential to avoid overbaking, which can lead to a dry texture.
- Cool and Serve: Allow the dessert to cool for about 30 minutes before slicing. This cooling time helps the layers set further, making it easier to serve and enhancing the flavor as it melds. Serve warm or at room temperature for the best experience. Consider dusting the top with powdered sugar or adding a dollop of whipped cream for an elegant touch.
Tips & Tricks
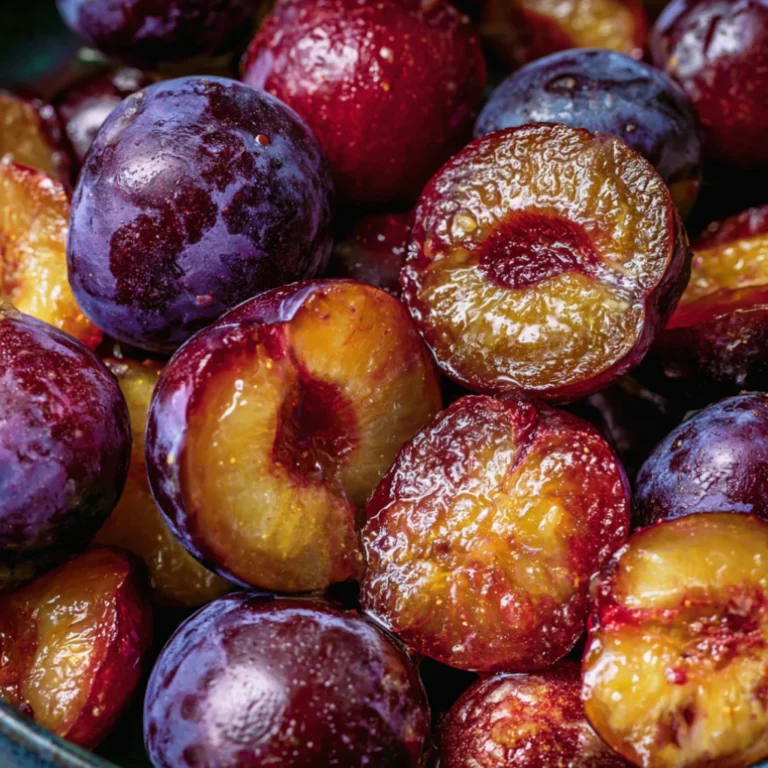
- To achieve the best flavor, consider using homemade cherry pie filling or fresh cherries if they are in season. This will elevate your cherry cheesecake flavors. If you opt for fresh cherries, pit and slice them before using. For a twist, you can macerate the cherries in a bit of sugar and lemon juice to enhance their sweetness.
- Store leftovers in an airtight container in the refrigerator for up to 3 days. This dessert often tastes even better the next day as the flavors continue to meld, creating a more harmonious dessert. Ensure it’s covered to prevent it from absorbing odors from other foods in the fridge.
- This dessert can be made ahead of time. Prepare it a day in advance and keep it refrigerated until you’re ready to serve. Just be sure to allow it to sit at room temperature for a few minutes before cutting into it. This helps to soften the texture, making it easier to slice.
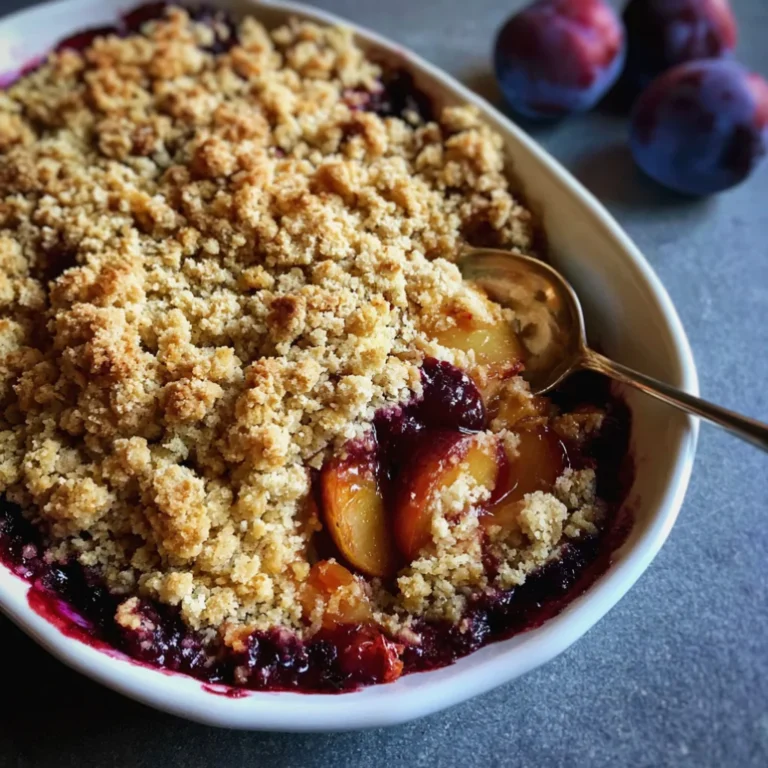
- For a quick and easy dessert that’s sure to impress, consider this one-pan dessert concept, where you can swap out the cherry filling for other fruits like peaches or blueberries. Each variation offers a new twist on this classic! Experimenting with seasonal fruits can keep this recipe fresh and exciting.
- When incorporating the crumble topping, let it clump together slightly for a crunchy texture that contrasts nicely with the creamy cheesecake. This can be achieved by gently squeezing the mixture in your hands before sprinkling it over the cake. Additionally, feel free to add a pinch of sea salt to the topping for a delightful sweet-and-salty balance.
Variations
Enhance your Cherry Cheesecake Dump Cake by adding different layers. Try incorporating chocolate chips or nuts into the crumble topping for added texture. You can also experiment with flavored extracts in the cheesecake layer, such as almond or lemon, to create unique twists on flavors. Check out our related guide for more tips. Each variation can provide a refreshing take on this beloved dessert. Don’t hesitate to mix in some coconut flakes or sprinkle toasted coconut on top for an exotic flair!
Cherry Cheesecake Dump Cake with Crumble Topping
If you're looking for a delicious and simple dessert that combines the creamy goodness of cheesecake with the bright flavors of cherries, you've found the perfect recipe! This Cherry Cheesecake Dump Cake is a delightful one-pan dessert that is not only easy to make but also a crowd-pleaser at potlucks and summer gatherings.
Ingredients
- 1 box (15.25 oz) yellow cake mix
- 1/2 cup unsalted butter, melted
- 1 can (21 oz) cherry pie filling
- 1 package (8 oz) cream cheese, softened
- 1/2 cup granulated sugar
- 1 teaspoon vanilla extract
- 1 large egg
- 1 cup rolled oats
- 1/2 cup brown sugar
- 1/2 cup all-purpose flour
- 1/4 cup unsalted butter, melted
- 1/2 teaspoon cinnamon
Directions
Preheat your oven to 350°F (175°C). Grease a 9x13-inch baking dish with cooking spray or butter to prevent sticking.
In a mixing bowl, beat the softened cream cheese with a hand mixer until smooth. Gradually add the granulated sugar, mixing well until fully combined. Then add the vanilla extract and egg, beating until completely smooth and creamy. Set aside.
Evenly spread the cherry pie filling across the bottom of the prepared baking dish.
Pour the cheesecake mixture over the cherry filling, spreading it gently to cover as much of the cherries as possible.
In a separate bowl, combine the yellow cake mix with the melted butter. Stir until the cake mix is moist and crumbly.
Sprinkle the cake mix evenly over the cheesecake layer.
In another bowl, combine the rolled oats, brown sugar, flour, melted butter, and cinnamon. Mix until crumbly, then sprinkle this mixture over the cake layer.
Place the baking dish in the preheated oven and bake for 45-50 minutes, or until the topping is golden brown and the cheesecake is set.
Allow the dessert to cool for about 30 minutes before slicing. Serve warm or at room temperature.
Nutrition Facts
Recipe Reviews
- ★★★★★
Excellent recipe!
Leave a Reply
Your email address will not be published. Required fields are marked *


Excellent recipe!